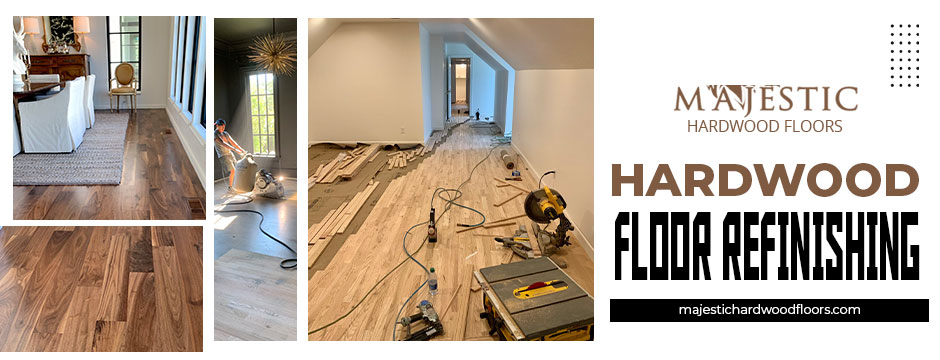
Revitalizing Elegance: A Comprehensive Guide to DIY Hardwood Floor Refinishing

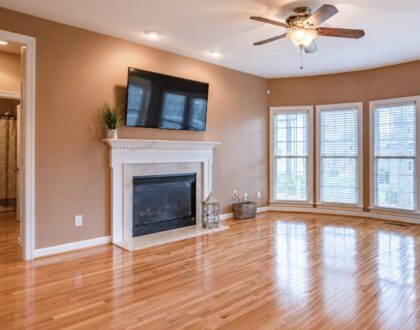
Hardwood floors, revered for their enduring beauty, may lose their luster over time due to daily wear and tear. Find scratches, dullness, or worn finishes tarnishing the once-gleaming surface. It might be the perfect opportunity to embark on a do-it-yourself (DIY) journey of hardwood floor refinishing. While enlisting professionals is an option, taking on the task yourself can be rewarding and cost-effective. This in-depth guide unveils many DIY tips to breathe new life into your hardwood floors, ensuring their longevity and a renewed radiance that stands the test of time.
Understanding the Refinishing Process
Step 1: Assessment and Preparation
Begin the refinishing journey by conducting a meticulous assessment of your hardwood floors. Identify areas that require attention, such as scratches, stains, or worn finishes. To provide ample workspace, relocate furniture and rugs. Ensure proper ventilation by opening windows and doors to create a well-ventilated environment.
Step 2: Gathering Supplies
The success of your DIY hardwood floor sanding and refinishing project hinges on the quality of the supplies you invest in. Essential materials typically include sandpaper of varying grits (coarse to fine), wood filler, a putty knife, a floor buffer orbital sander, a vacuum, and a tack cloth. Select a high-quality polyurethane finish to impart a lasting shine to your newly refinished floors.
Step 3: Safety First
Prioritize safety by donning protective gear, including safety goggles, a dust mask, and ear protection. Adequate ventilation is crucial to disperse fumes from refinishing products and maintain a safe working environment.

DIY Refinishing Steps
Step 4: Sanding
Initiate the refinishing process with coarse-grit sandpaper to eliminate the existing finish and level the floor surface. Progress to finer grits to achieve a smoother result. To prevent scratches, always sand in the direction of the wood grain. Thoroughly vacuum the area between each sanding stage to remove debris.
Step 5: Repairing Imperfections
Address scratches, gouges, or gaps by applying wood filler. Use a putty knife to ensure a level application, allowing it to dry completely. Afterward, sand the patched areas for a seamless, uniform finish.
Step 6: Buffing or Sanding Between Coats
For optimal smoothness, lightly buff the surface with fine-grit sandpaper or employ a floor buffer between applying each polyurethane finish coat. This step ensures an even and professional-looking result.
Step 7: Applying the Finish
Apply the polyurethane finish using a high-quality brush or lambswool applicator. Ensure even coverage, working from the farthest corner towards the exit to avoid walking on freshly coated floors. Allow each coat to dry thoroughly before applying the subsequent layer.
Step 8: Drying and Curing
After the final coat, exercise patience during the drying and curing period. Prevent walking on the floors until fully cured to safeguard against potential damage. A well-cured finish enhances durability and longevity.
Pro Tips for Success
-
- Temperature Matters: Optimal refinishing results are achieved during moderate temperatures, ensuring the ideal drying conditions for the polyurethane finish.
-
- Plan Your Exit: Strategically plan your refinishing path, commencing in a room farthest from the exit to prevent walking on freshly coated floors.
You can successfully revitalize your hardwood floors by adhering to these comprehensive DIY tips for hardwood floor refinishing. This transformative process not only preserves the timeless elegance of your hardwood but also provides a sense of accomplishment through hands-on engagement. Revel in the satisfaction of a rejuvenated living space, achieved with your efforts and a touch of DIY magic.
To find out more, visit us at Majestic Hardwood Floors!
Recommended Posts
Why You Should Replace Your Carpet with Wooden Flooring
June 30, 2026