How to Install Hardwood Flooring: A Comprehensive DIY Guide
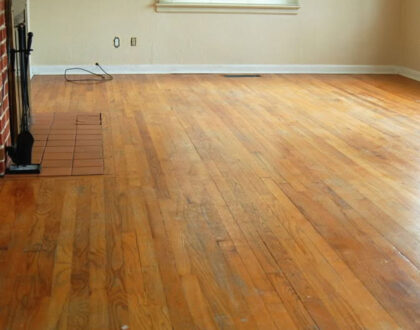
Hardwood flooring is a popular and timeless choice for homeowners, providing a blend of warmth, increased property value, and a touch of sophistication to living spaces. Opting for a do-it-yourself (DIY) approach to hardwood installation not only offers a cost-effective solution but also allows you to create an aesthetically pleasing update to your home.
Understanding Installation Methods
To embark on a successful hardwood flooring project, it’s crucial to grasp the three fundamental installation methods: nail-down, glue-down, and click-lock.
Choosing Your Install Method
The choice of installation method is influenced by several factors, including the type of subfloor, budget constraints, lifestyle considerations, and the specific wood flooring selected. Solid hardwood is typically nailed down, while engineered flooring offers the flexibility of being glued down or installed using the click-lock method.
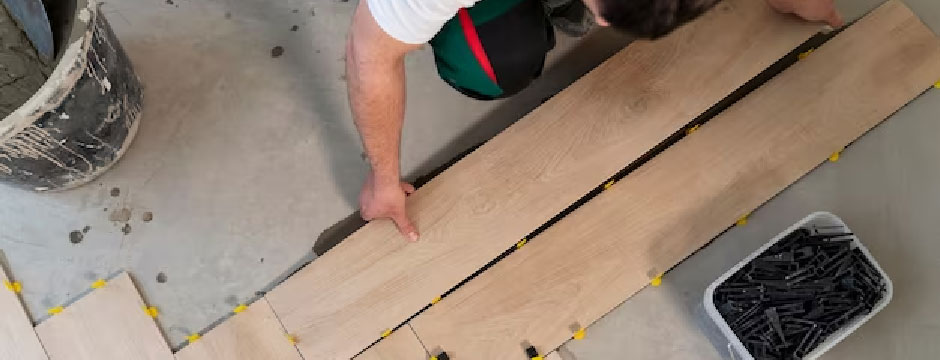
Glue-Down Installation: A Budget-Friendly Option for Concrete Floors
The glue-down method is particularly well-suited for concrete floors and involves securing engineered flooring by clicking the boards together and applying adhesive. This approach eliminates the necessity for an additional vapor barrier, making it a budget-friendly option.
-
- Spread Adhesive Thoughtfully: Begin by spreading flooring adhesive in small sections, preventing it from drying prematurely and ensuring an effective bond.
2. Lay the First Row with Precision: Lay the first row of flooring, taking care to cut the last board to fit, leaving a 3/4-inch expansion gap for necessary movement.
3. Attach the Second Row: Proceed by attaching the second row, fitting the groove onto the tongue of the first row. This interlocking mechanism ensures a secure and stable installation.
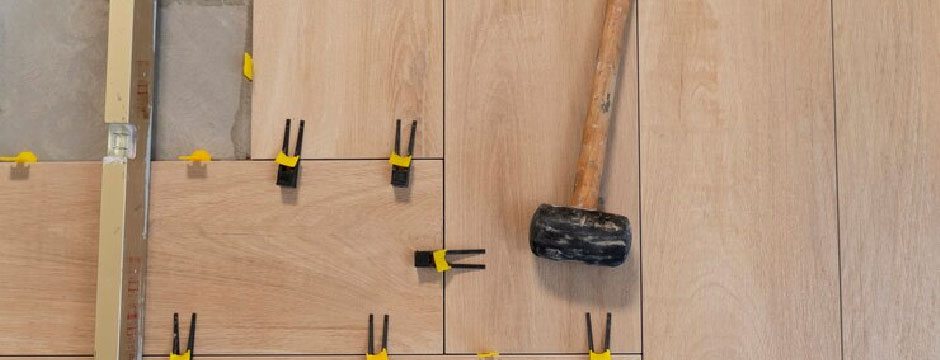
4. Maintain the Expansion Gap with Spacers: Utilize spacers to maintain the recommended 3/4-inch expansion gap, promoting proper ventilation and accommodating the natural expansion and contraction of the wood.
5. Tap Rows for a Snug Fit: Use a rubber mallet to gently tap rows into place, ensuring a snug fit between boards and promoting a seamless appearance.
6. Finalize Installation and Cover Gaps: Complete the installation by cutting boards in the last row to fit. Install baseboards to cover any gaps along the edges, providing a polished and finished look to the project.
The nail-down installation method is a cost-effective approach, specifically designed for solid hardwood flooring on wood subfloors. This method involves securing the hardwood boards firmly in place using nails. Here’s a step-by-step breakdown:
-
- Aligning and Nailing the First Board: Begin by aligning the first board with precision, drilling pilot holes, and securing it to the wood subfloor with nails. This initial step lays the foundation for a secure and stable installation.
2. Connecting Subsequent Rows: Continue the installation process by connecting subsequent rows of hardwood boards. Staggering the end joints of each row is essential for enhancing stability and promoting a visually appealing layout.
3. Face-Nailing for Stability: Face-nail both the first and last rows of boards to ensure added stability. Drill pilot holes before face-nailing to prevent the undesirable splitting of the wood, preserving the integrity of the flooring.
4. Utilizing a Flooring Nailer: In rows with sufficient space, employ a flooring nailer to drive nails through the tongue of the boards, securing them in place. Face-nail when necessary, ensuring a seamless and secure installation.
5. Cutting the Last Row and Ensuring Expansion Gap: Cut the width of the boards in the last row, leaving a recommended 3/4-inch expansion gap. This gap allows for natural wood movement and prevents issues associated with contraction and expansion.
6. Installing Finishing Elements: Complete the installation by adding baseboards, shoe molding, and thresholds. These finishing touches not only enhance the aesthetic appeal of the flooring but also cover any gaps along the edges, providing a polished and cohesive look.
Click-Lock Installation: DIY-Friendly Method with Seamless Board Attachment
The click-lock installation method is a popular choice for do-it-yourself enthusiasts, characterized by its ease of use and seamless interlocking of boards. Here’s a breakdown of the click-lock installation process:
-
- Maintaining Expansion Gap with Spacers: Utilize spacers to maintain a consistent 1/2-inch expansion gap for the first row. This gap ensures proper ventilation and accommodates the natural movements of the wood.
2. Initial Board Placement and Nailing: Lay the first board against the spacers, drilling pilot holes, and securing it in place with nails. This initial step sets the stage for the secure attachment of subsequent rows.
3. Interlocking Rows with Constant Pressure: Connect subsequent rows by placing the upper drop-lock end of each board onto the lower drop-lock end of the previous row. Exert a constant pressure to ensure a snug fit and secure interlocking of the joints.
4. Cutting the Last Board and Staggering Joints: Cut the last board in each row to fit, ensuring a 3/4-inch expansion gap. Stagger the joints between boards to enhance stability and create an aesthetically pleasing pattern.
4. Installing Finishing Elements: Conclude the installation by adding baseboards, shoe molding, and thresholds. These elements serve both functional and aesthetic purposes, providing a clean and polished appearance to the completed project.
General Tips for Installing Hardwood Floors:
-
- Strategic Starting Point: Initiate the installation from the straightest and longest wall, opting for a perpendicular alignment to the floor joists for optimal structural integrity.
2. Sufficient Flooring Preparation: Ensure you have an ample amount of flooring for your designated space, factoring in cutting and culling allowances. This meticulous planning guarantees a smooth installation process.
3. Acclimating Hardwood: Allow the hardwood to acclimate in the installation room for at least five days, maintaining a temperature range of 65-75°F and humidity levels between 30-55%. This crucial step prevents post-installation issues related to wood expansion or contraction.
4. Sturdy Subfloor Requirements: Prioritize a sturdy subfloor, opting for materials like 3/4-inch CDX plywood to provide a reliable foundation for the hardwood installation.
5. Safety First: Implement safety measures, including the use of work gloves and knee pads, especially when undertaking nail-down and glue-down installation methods. These precautions enhance both safety and comfort throughout the flooring installation process.

Preparing the Space for Hardwood Flooring Installation
Embarking on a hardwood flooring installation project requires meticulous preparation to ensure a seamless and visually appealing outcome. The following steps outline the crucial preparatory measures:
1. Remove Baseboards: Begin by removing the baseboards in the room where the installation will take place. This step provides clear access to the areas where the flooring will be laid.
2. Level and Smooth the Subfloor: Achieving a level and smooth subfloor is essential for the proper installation of hardwood flooring. This involves sanding down any raised spots, filling low spots, and creating an even surface.
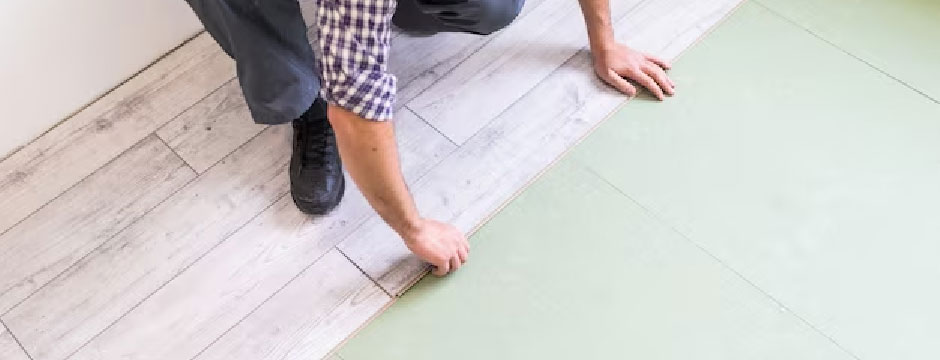
3. Mark Wall Locations and Use Underlayment: Marking the walls to indicate the location of floor joists is crucial for proper alignment. Additionally, cover the floor with underlayment or a moisture inhibitor, such as asphalt-saturated felt or silicone vapor shield, to protect the flooring and subfloor.
4. Run Strip Flooring Perpendicular to Floor Joists: For added strength, it’s recommended to run strip flooring perpendicular to the floor joists. This enhances the stability and longevity of the hardwood installation.
5. Measure and Snap a Line for the First Row: To guide the placement of the first row, measure and snap a line along the starting wall. Spacers are used to maintain a 3/4-inch expansion gap, allowing the wood to expand and contract naturally.
6. Rack Boards and Stagger End Joints: Achieving a uniform appearance is essential for a professional finish. Rack the boards, ensuring a blend of colors and lengths. Stagger the end joints by at least 6 inches, preventing a repetitive pattern and enhancing the overall aesthetic.
7. Acclimate the Boards: Before installation, allow the hardwood boards to acclimate to the room. This can be done by stacking them log-cabin style or by spreading them across the installation space. Acclimation helps prevent issues related to expansion or contraction after installation.
Conclusion
Installing hardwood flooring is a rewarding DIY project that offers various methods to cater to diverse preferences. Whether choosing the glue-down, nail-down, or click-lock method, success hinges on thorough preparation and adherence to installation guidelines. Armed with the right tools and a comprehensive understanding of each method, homeowners can confidently enhance their living spaces with the timeless beauty of hardwood floors.
Read More Our Latest Article Visit Here: Revitalizing Elegance: A Comprehensive Guide to DIY Hardwood Floor Refinishing
Recent Posts

Why You Should Replace Your Carpet with Wooden Flooring
June 30, 2026