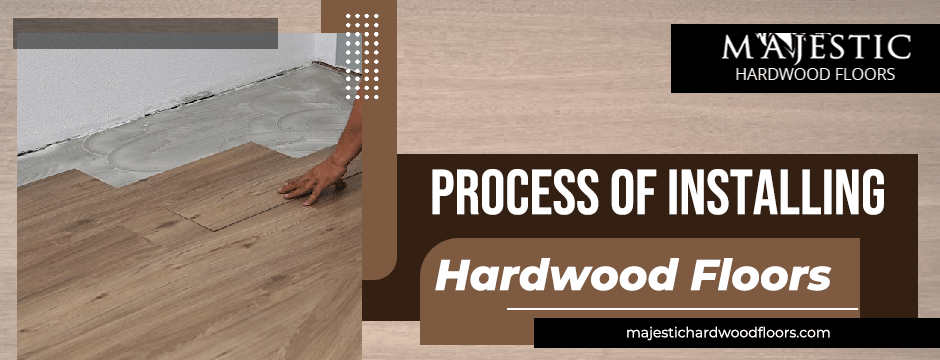
What Is The Process Of Installing Hardwood Floors: A Step-by-Step Process
When it comes to enhancing the elegance and timeless appeal of your home, few flooring options can match the charm of hardwood. Installing hardwood floors not only adds warmth to your living spaces but also increases the overall value of your property. In this comprehensive guide, we’ll walk you through the step-by-step process of hardwood floor installation, ensuring that you’re well-equipped to embark on this transformative journey. Whether you’re a seasoned DIY enthusiast or considering professional installation, understanding the process is crucial for a successful and enduring result.
1. Preliminary Preparations: Measure Twice, Order Once
Before diving into the installation process, meticulous planning is paramount. Begin by accurately measuring the rooms where you intend to install hardwood floors. It’s advisable to order slightly more material than needed to account for any potential wastage during the cutting process or future repairs. Choose hardwood species and finishes that align with your aesthetic preferences and lifestyle requirements.
2. Acclimation: Allowing Wood to Adjust
Once the hardwood flooring arrives at your location, it needs time to acclimate to the environmental conditions of your home. Unbox the flooring and let it sit in the rooms where installation will occur for at least 72 hours. This acclimation period allows the wood to adjust to the humidity and temperature of its new environment, minimizing the risk of post-installation issues like warping or buckling.
3. Subfloor Inspection and Preparation: A Solid Foundation
A smooth and level subfloor is essential for the longevity and stability of your hardwood floors. Thoroughly inspect the existing subfloor for any imperfections, such as dips, bumps, or squeaks. Correct any irregularities by sanding down high spots, filling gaps or cracks, and ensuring the surface is clean and dry. If necessary, install a layer of plywood to create a uniform base for your hardwood flooring.
4. Underlayment Installation: Moisture Protection
To guard against moisture-related issues, especially in areas prone to humidity or moisture exposure, install an underlayment. A moisture barrier or underlayment provides an additional layer of protection, preventing potential damage to your hardwood floors. Ensure proper installation by following the manufacturer’s guidelines and recommendations for the specific type of underlayment you choose.
5. Establishing a Baseline: Precision Matters
Before laying the first plank, establish a baseline to ensure a straight and symmetrical installation. Using a chalk line, mark a straight reference line along the longest, straightest wall in the room. This baseline serves as a guide for the initial rows of hardwood planks, ensuring a visually appealing and balanced installation.
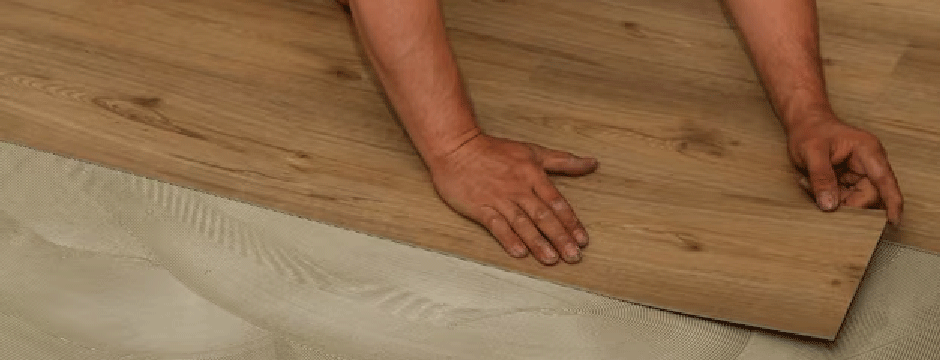
6. Plank Installation: Crafting the Foundation
Now comes the exciting part – laying down the hardwood planks. Starting from the baseline, lay the first row of planks, ensuring a snug fit against the wall. Use a pneumatic flooring nailer or stapler to secure the planks to the subfloor, placing fasteners at a slight angle to avoid splitting the wood. As you progress, stagger the joints between rows for a more natural appearance.
7. Board Alignment and Spacing: Creating Room for Movement
While installing subsequent rows, pay close attention to board alignment and spacing. Use spacers to maintain a consistent gap between the planks and the walls. This gap allows for natural expansion and contraction of the wood due to changes in humidity and temperature. Remember to leave expansion gaps at doorways and transitions to accommodate these fluctuations.
8. Cutting and Fitting: Precision is Key
Hardwood installation inevitably involves cutting and fitting pieces to accommodate the room’s dimensions and features. Use a miter saw, table saw, or jigsaw for precise cuts, ensuring a seamless integration of planks around corners, doorways, and obstacles. Exercise caution and precision during this phase to achieve a professional-looking finish.
9. Final Rows and Finishing Touches: Crossing the Finish Line
As you approach the final rows, the space may narrow, making it challenging to use the flooring nailer. In such cases, switch to a finish nailer to secure the last few rows. Be sure to leave the required expansion gap, which will later be concealed by baseboards or shoe molding. Once the installation is complete, cover the gaps with these finishing elements for a polished look.
10. Inspection and Cleaning: A Thorough Once-Over
With the hardwood installation complete, conduct a thorough inspection of the entire floor. Check for any visible defects, gaps, or irregularities in the installation. Address any issues promptly, ensuring a flawless finish. Once satisfied, clean the floor to remove any debris, dust, or adhesive residues, preparing it for the final phase of the installation process.
11. Finishing Touches: Staining and Sealing
To protect and enhance the natural beauty of your hardwood floors, consider applying a stain or sealant. Staining allows you to customize the color of the wood, while sealing provides an additional layer of protection against wear and tear. Choose products that are compatible with your hardwood species and follow the manufacturer’s guidelines for application.
12. Regular Maintenance: Preserving the Beauty
Hardwood floors, when properly installed and maintained, can last for generations. Implement a regular cleaning and maintenance routine to preserve the beauty and longevity of your hardwood investment. Avoid excessive moisture exposure, use appropriate cleaning products, and promptly address any spills or damages to ensure your hardwood floors retain their luster for years to come.
Conclusion: Reveling in the Timeless Beauty of Hardwood Floors
Embarking on the journey of hardwood floor installation is an investment in both the aesthetic appeal and value of your home. By understanding and meticulously following each step of the installation process, you can achieve a result that not only stands the test of time but also reflects your commitment to quality craftsmanship. Whether you choose to tackle this project as a DIY enthusiast or opt for professional installation, the enduring beauty of hardwood floors awaits, transforming your living spaces into timeless havens of warmth and sophistication.
Want to find out more? Follow us at Majestic Hardwood Floors!
Read More Articles visit here: Navigating the Timeline: How Long Does It Take to Install Hardwood Floors?